Porcelain Veneers
In Kennewick, WA
At , we refine your smile with bright, even teeth that feel easy.
About Porcelain Veneers
Insight
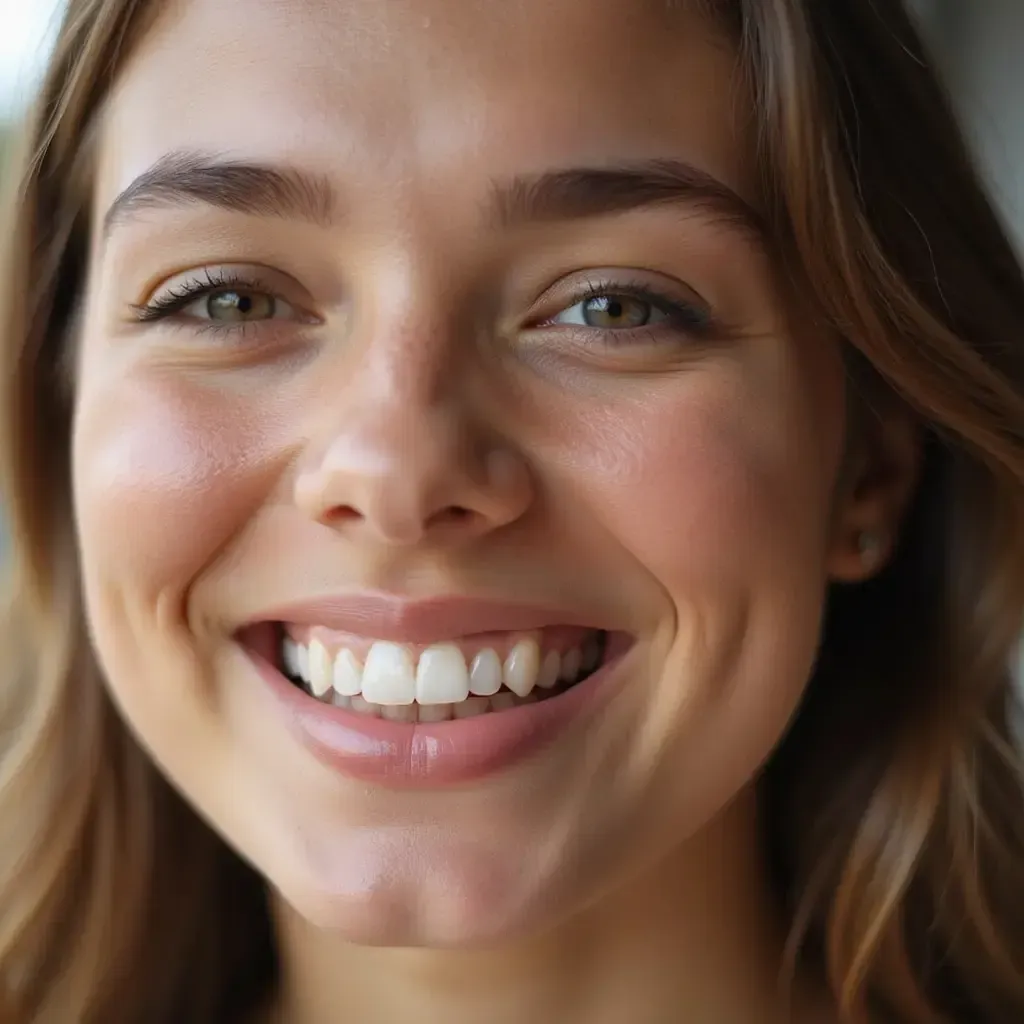
Understanding Porcelain Veneers
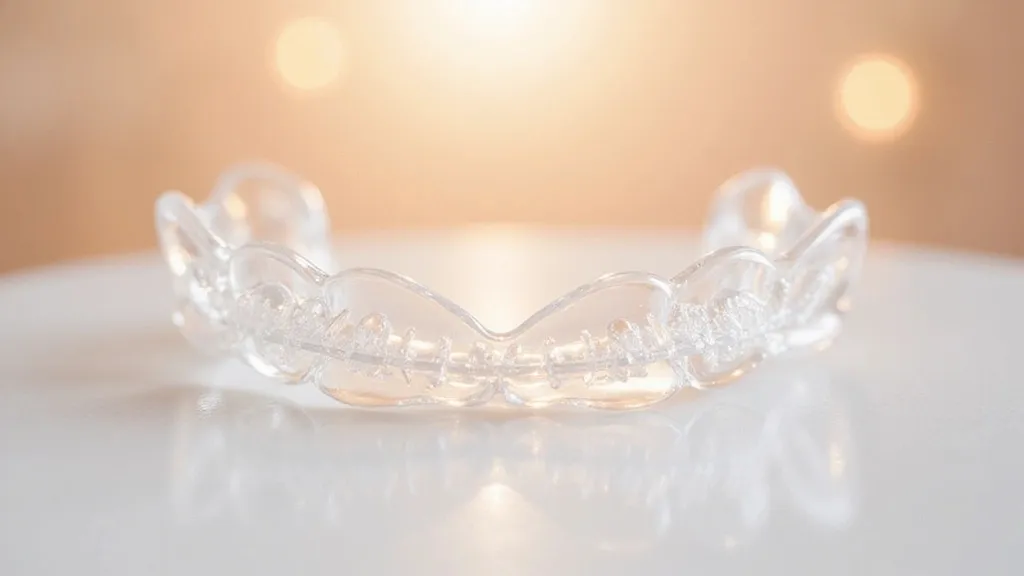
Porcelain Veneers are thin, custom shells that cover the front of teeth to change color, shape, and size. They are made to look like natural enamel, with light and shine that do not look flat. A dentist uses photos and scans to plan the new smile, then bonds each shell in place with strong dental cement. Because they sit on the surface, they can hide stains that whitening cannot fully lift and can smooth chips or uneven edges. Veneers are not “one size fits all.” The best ones match your face, your bite, and your speech so they look real and feel comfortable. Most plans focus on the top front teeth you show when you smile.
A key part of Porcelain Veneers is careful prep. Some cases need a small amount of enamel shaped so the shell can fit without looking bulky. Other cases may need very little shaping, but your dentist will explain what is realistic for your teeth. Temporary covers may be used while the final set is made, so you can keep smiling and eating normally. Shade choice matters too. Many people want a bright look, yet the most natural results blend with skin tone and eye color. In a busy, photo-heavy city, patients often ask for a “natural white” that looks polished, not fake. A preview mock-up can help you approve length and shape before anything is final.
Long-term success with Porcelain Veneers depends on habits and fit. Veneers are strong, but biting ice, pens, or hard candy can chip edges. If you clench or grind at night, a guard may be needed to protect the investment. You still need daily brushing, flossing, and regular cleanings because the tooth behind the shell can still get decay near the edges. Good bonding and a healthy gumline keep the seam smooth and hard to see. With proper care, many patients keep a bright, even smile for years and can repair a small chip without starting over. Routine checkups also let your dentist catch wear early and keep your bite balanced.
Candidate
Who Benefits From Porcelain Veneers
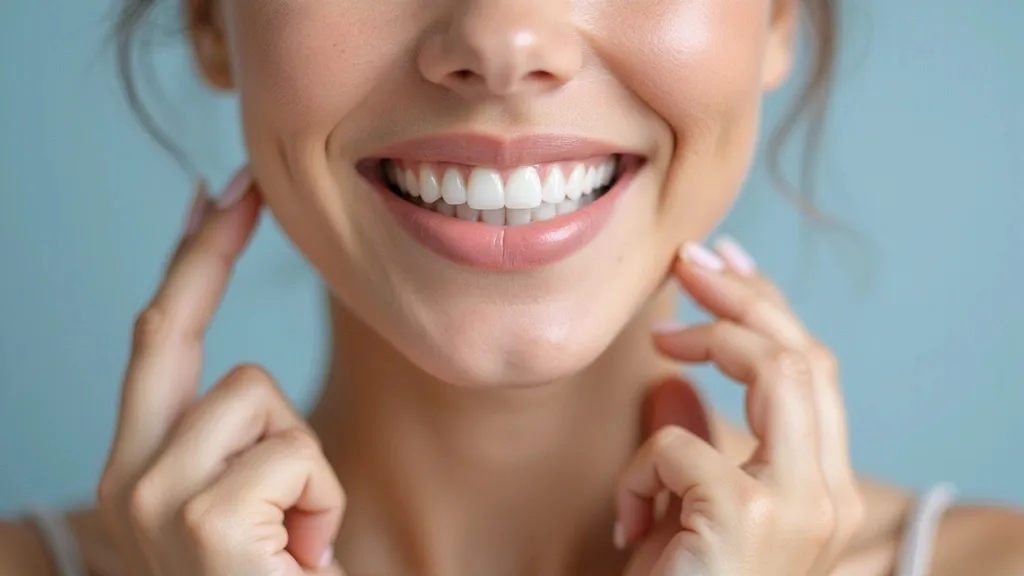
Porcelain Veneers can be a strong choice if you want to fix several smile flaws at once, like deep stains, small chips, uneven front teeth, or gaps that bother you in photos. They may also help if teeth look short from wear or if old bonding keeps staining and breaking. You are usually a good candidate if your gums are healthy, you do not have untreated cavities, and your bite is stable. If you grind, you may still qualify, but you may need a night guard to reduce stress on the edges. If you live in or near Kennewick, WA, many people want a bright, beach-ready look that still feels natural up close, so a custom shade plan matters.

Approach
What Is The Process For Porcelain Veneers
Assessment
Treatment
Follow Up
Assessment
Smile goals and photo review
Check gums and decay
Bite check for grinding
Review past dental work
Scan, photos, and X-rays
Discuss shade and shape
Plan how many teeth to do
Treatment
Mock-up or trial smile
Pick final shade together
Light enamel shaping
Take final impressions
Place temp covers
Lab crafts final shells
Try-in and tweak edges
Bond veneers in place
Polish and check bite
Follow Up
Expect mild soreness day 1–2
Avoid hard foods at first
Brush gently at the gumline
Floss daily around edges
Night guard if you clench
Cleanings to protect margins
Journey
Before, During, & After Porcelain Veneers
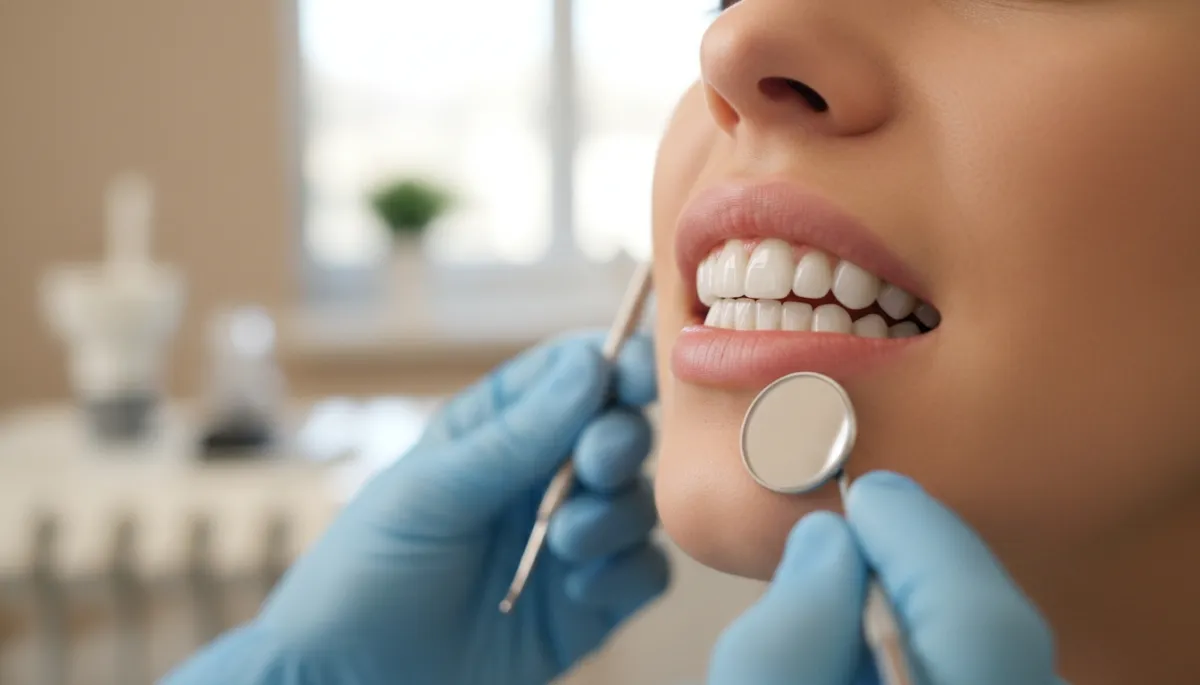
BEFORE: Porcelain Veneers start with planning and health checks. Your dentist looks for cavities, gum swelling, and weak enamel so problems are fixed first. You will take photos and a scan to map how your teeth meet and how your lips frame your smile. Next comes design: you review tooth length, width, and shade, often with a mock-up that lets you “test drive” the look. If whitening is part of the plan, it may be done before shade selection. Tell your dentist if you clench, because that can change the shape choice and may add a night guard step. A cleaning before prep can also help gums look smooth and calm.
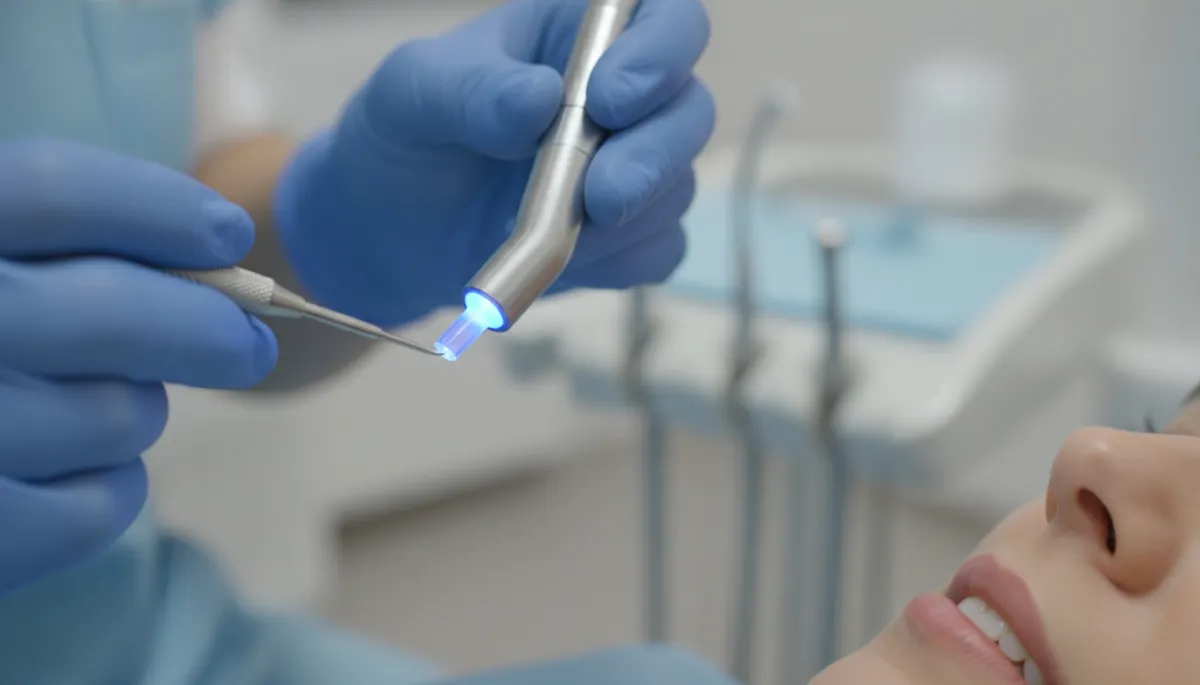
DURING: On prep day, your teeth are numbed and shaped only as needed so the shells fit flat and natural. Your dentist may place temporary covers that protect your teeth and preview your new smile while the lab makes the final set. At the delivery visit, each veneer is tried in, adjusted, and checked for a clean edge near the gums. Once the fit and shade are approved, the tooth surface is cleaned and treated so the bonding cement can grip tightly. Veneers are placed one by one, then a special light helps set the bond. Your bite is checked again so chewing feels even, not high on one tooth. You leave with clear care steps.
AFTER: The first week is about letting your mouth settle. Your lips and gums may feel a little tender, and cold drinks can cause short sensitivity. Stick with softer foods at first and avoid biting directly into very hard items. Brush and floss like normal, but be gentle at the gumline so tissues heal smoothly. If you were given a night guard, wear it, since grinding is a top cause of chips. Follow-up visits let your dentist fine-tune the bite and polish any spot that feels rough. With steady care, your new smile can stay bright and even for many years. Regular cleanings help keep edges clean and keep the porcelain looking glossy.
Transformation
Getting Started With Porcelain Veneers
A Porcelain Veneers consult is where the “Hollywood smile” plan gets real. You’ll point out what you want to fix—chips, stains, small gaps, or uneven edges—then we check your bite, gums, and enamel to be sure this option is safe and long lasting. Photos and a 3D scan help choose the right shape and shade so your teeth look bright, even, and still natural. Many plans include a quick mock-up or temporary look, so you can preview the change before anything is final. You’ll leave with a simple timeline, a clear price range, and next steps from a cosmetic dentist near Kennewick, WA.
Book Now
Booking is simple, with flexible scheduling designed around your cosmetic goals.
Choose a time that fits your routine and start your personalized smile journey.
The staff was so welcoming and professional. My results exceeded expectations, and the entire experience was relaxing and enjoyable. I left feeling confident and refreshed!

Incredible service from start to finish! The team truly cares about your comfort and outcome. Everything felt clean, modern, and detail-oriented. Highly recommend!

I’ve never felt more cared for during an appointment. They explained every step clearly and made sure I was comfortable. The results speak for themselves—amazing!

Absolutely five-star experience. The staff was kind, knowledgeable, and attentive. You can tell they take pride in their work. I’ll definitely be returning soon.

From the first consultation to the final result, everything was flawless. The environment was spotless, and the results were beyond what I imagined. Truly life-changing.

Exceptional experience all around. They listened carefully to what I wanted and delivered with precision. I feel more confident and rejuvenated than ever.

Most Requested
Explore our most requested cosmetic treatments designed to enhance smiles naturally.
Discover popular services focused on whitening, veneers, and smile makeovers.

FAQ'S About Porcelain Veneers
How long do Porcelain Veneers last?
With good home care, regular cleanings, and avoiding hard biting habits, they can last for many years. Your dentist will explain what affects lifespan for your bite.
Do Porcelain Veneers ruin natural teeth?
They usually require some shaping so the shells sit flat and look natural. Your dentist will explain how much is needed for your case before you start.
Can I whiten teeth after getting Porcelain Veneers?
Whitening changes natural tooth color, but veneers do not lighten. Many people whiten first, then match the veneer shade for a blended look.
Are Porcelain Veneers painful?
Most visits use numbing when needed. Some people feel mild soreness or sensitivity for a short time while they adjust.
Can I get Porcelain Veneers at if I grind my teeth?
Often yes, but grinding can raise chip risk. A night guard and careful bite planning can help protect the edges.
Serving Our
Neighbors
We’re proud to support and serve our neighbors in communities big and small, from:
Ready For Change?
Take the first step toward a confident smile with expert cosmetic care. Book a consultation today and begin your personalized smile transformation.
Take the first step toward a confident smile with expert cosmetic care.
Operating Hours
Mon: 9:00am - 5:00pm
Tues: 9:00am - 5:00pm
Wed: 9:00am - 5:00pm
Thurs: 9:00am - 5:00pm
Fri: 9:00am - 5:00pm
Sat: Closed
Sun: Closed
LOCK CODE
<::::::::::>
Lock
<::::::::::>
CUSTOM CODES
<::::::::::>
STYLIZATIONS
VISUAL
<::::::::::>
Background Color
Gradient 90 Degrees
<::::::::::>
Background Color
Gradient 135 Degrees
<::::::::::>
SVG Carousel
Color
<::::::::::>
SVG Sequence
Color Icons
<::::::::::>
Outline Color
Radius 25px
<::::::::::>
Community Background
Gradient
<::::::::::>
Background Color
Gradient 315 Degrees
<::::::::::>
Background Color
Gradient 225 Degrees
<::::::::::>
Inner Shadow
Weak
<::::::::::>
Inner Shadow
Strong
<::::::::::>
Invert Color
Block Secondary A
<::::::::::>
Invert Color
Exempt
<::::::::::>
Background
Blur 20px
<::::::::::>
Outline Color
Radius 10px
<::::::::::>
Image
Black
<::::::::::>
Image
White
<::::::::::>
Image
Edge Fade
<::::::::::>
Gradient Color
Text
<::::::::::>
Corner Radius
15px
<::::::::::>
Corner Radius
25px
<::::::::::>
Corner Radius
50px
<::::::::::>
Corner Radius
Top 15px
<::::::::::>
Corner Radius
Top 25px
<::::::::::>
Mobile Shadow
None
<::::::::::>
Mobile Shadow
Block Primary
<::::::::::>
Desktop Border White
Left And Right 1px
<::::::::::>
Desktop Border Black
Left And Right 1px
<::::::::::>
Desktop Corner Radius
Bottom Left 50px
<::::::::::>
Desktop Corner Radius
Bottom And Top Left 50px
<::::::::::>
ANIMATIONS
PERMANENT
<::::::::::>
Text Wave
Effect
<::::::::::>
Credentials Carousel
Slide
<::::::::::>
Credentials Carousel
Edge Fade
<::::::::::>
Requested Carousel
Slide
<::::::::::>
Requested Carousel
Edge Fade
<::::::::::>
Pulse
Sequence
<::::::::::>
Pulse
Size
<::::::::::>
Bounce
Rhythm
<::::::::::>
ANIMATIONS
HOVER/SCROLL
<::::::::::>
Neon Outline Color
On Hover/Scroll
<::::::::::>
Shine
On Hover Bright~
<::::::::::>
Shine
On Hover Dim
<::::::::::>
Raise On Hover
Shadow
<::::::::::>
Raise On Hover
No Shadow
<::::::::::>
Grow
On Hover 1.015
<::::::::::>
Grow
On Hover 1.05
<::::::::::>
Desktop Text Revealed
On Hover
<::::::::::>
Desktop Expand
On Hover
<::::::::::>
Shift Up
On Hover
<::::::::::>
Mobile Text Reveal
On Scroll
<::::::::::>
Mobile Expand
On Scroll
<::::::::::>
Blur Sibling
On Hover
<::::::::::>
Becomes Blurred
From Sibling
<::::::::::>
Change Background
Color On Hover
<::::::::::>
Change Text
Color On Hover
<::::::::::>
Change Outline
Color On Hover
<::::::::::>
Opener
Menu Catalyst
<::::::::::>
ANIMATIONS
SINGULAR
<::::::::::>
Fade In
On Scroll
<::::::::::>
Shift In
On Scroll
<::::::::::>
MOVEMENTS
& MARGINS
<::::::::::>
Move Z Axis
Plus 10px
<::::::::::>
Move Y Axis
Up 10px
<::::::::::>
TECHNICAL
DYNAMICS
<::::::::::>
Image Adjusts
Aspect Ratio 16 To 9
<::::::::::>
Image Adjusts
Aspect Ratio 1 To 1
<::::::::::>
Image Adjusts
Aspect Ratio 5 to 6
<::::::::::>
Image Adjusts
Aspect Ratio 9 to 16
<::::::::::>
Image Adjusts
Aspect Ratio 3 to 4
<::::::::::>
Image Min Width 90%
Screen 1420px
<::::::::::>
Text 60px
Screen 1420px
<::::::::::>
Text 60px
Screen 1080px
<::::::::::>
Text 48px
Screen 1080px
<::::::::::>
Text 36px
Screen 1080px
<::::::::::>
Text And Divider
Row Adjust
<::::::::::>
Image Fixed Size
Stabilizer
<::::::::::>
Container Max Width
370px
<::::::::::>
Container Min Width
100% Screen 1420px
<::::::::::>
Safari Parallax Image
Off
<::::::::::>